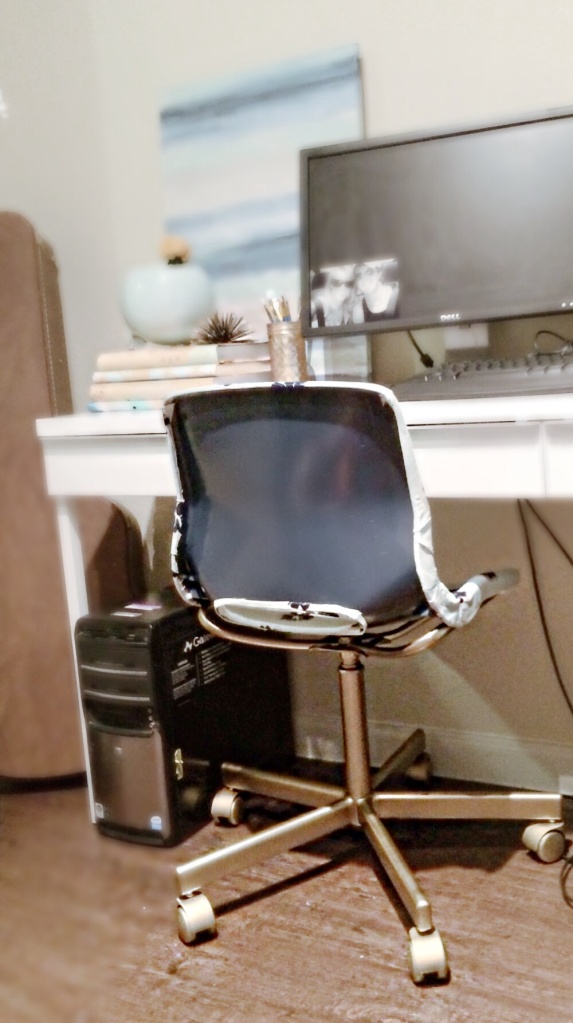
Okay, if you have not noticed I am trying to update our office nook with cost effective updates through some simple DIYs and small purchases. I saw this tutorial on the Little Green Notebook and knew I had a winner. buying a new chair would basically swallow my tiny $150 budget. This was a cheap update and cost me about $42. Some of the materials I already owned and some needed to be purchased. What you will need…
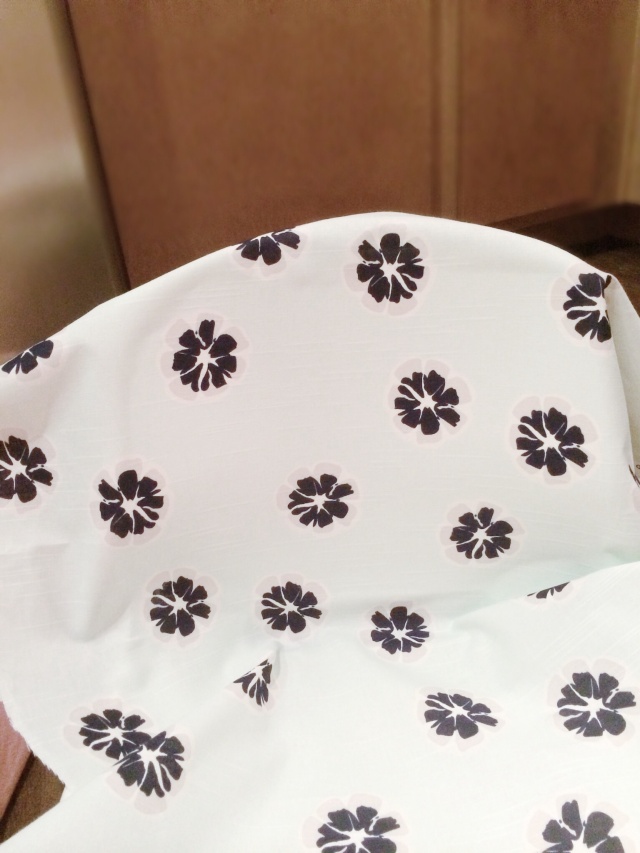
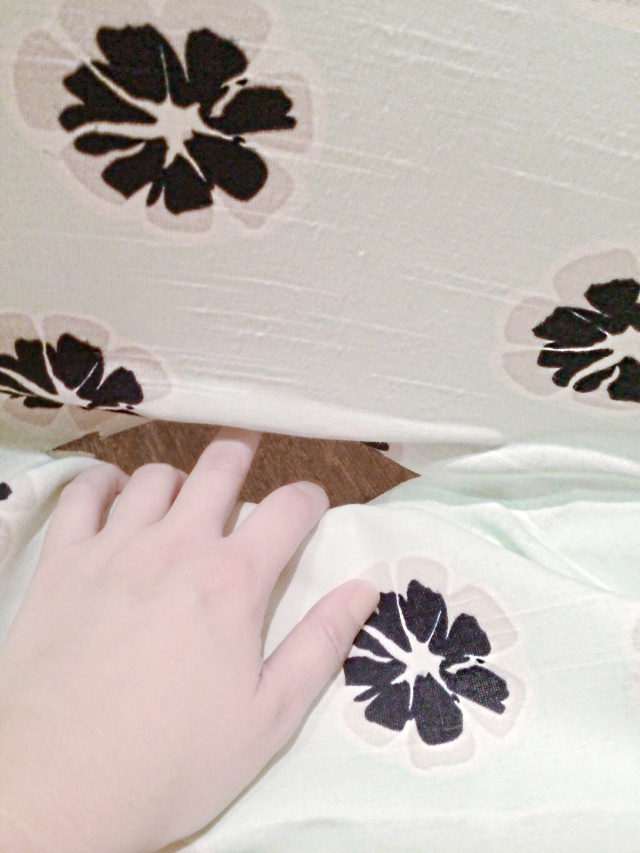
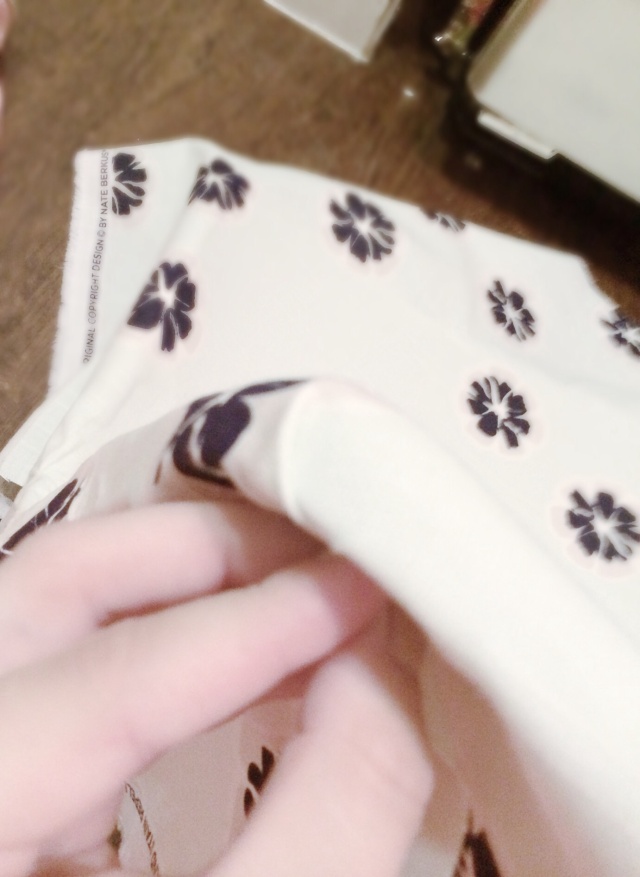
*about 1 sq yard of fabric ( I choose a linen because it seemed more textured – I choose a Nate Berkus fabric from Joann’s and had a 50% coupon which cost me $16)
*Xacto knife
*Modge Podge
* 2 Paint brushes ( 1 cheap one that you don’t mind throwing away)
*Sealer ( I used a Polycrylic)
*Paint (I used both spray paint and acrylic paint- I purchased gold spray paint from Michael’s using a 50% coupon for about $4, I already had the acrylic paint by Martha Stewart in Blueberry )
*Cheap office chair ( I purchased this one from IKEA last weekend for $20)
I also decided to add pictures of my products below…
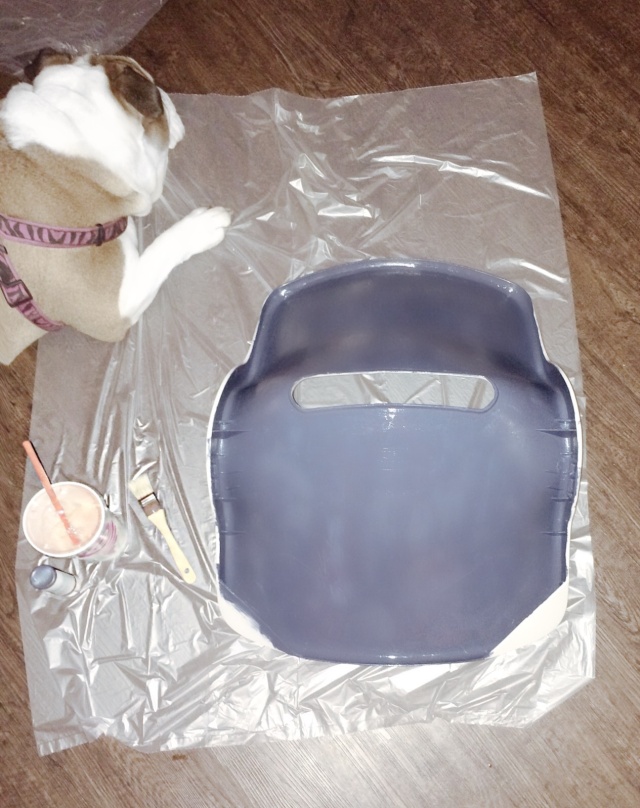
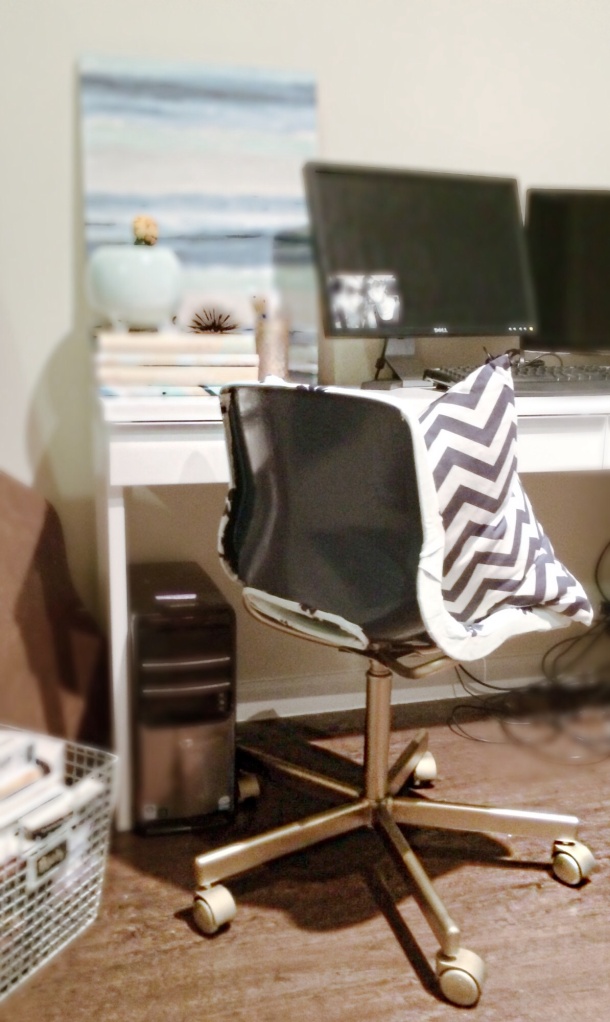
I started by painting the back of the chair with the blouse acrylic paint. I did 2 genourous coats and left it to dry overnight.
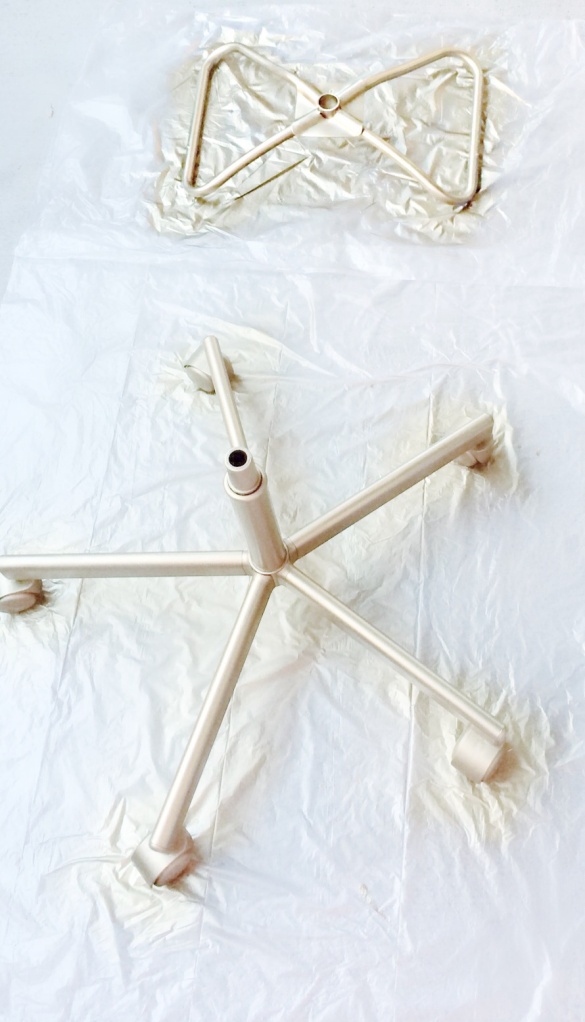
I also sprayed the bottom of the chair using an antique gold color. I want it to look almost brass. It held well and I again let it dry over night. Eventually I added a second coat.
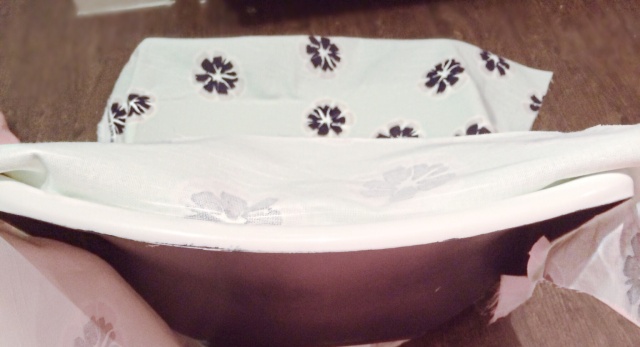
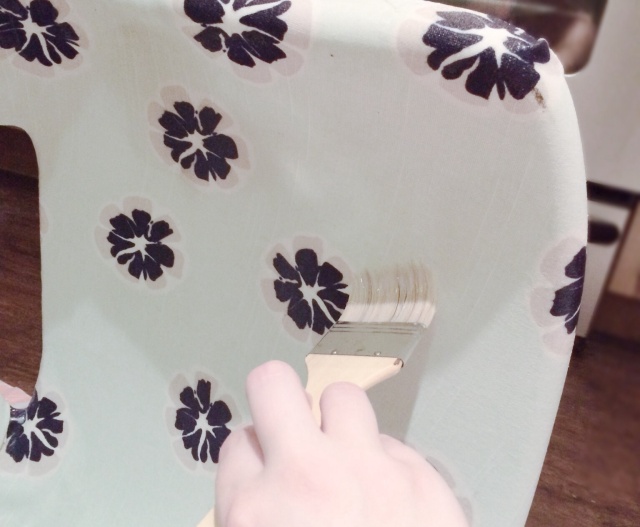
Now, it is time for the fabric. 2 things I wish I had realized before starting. 1- you WILL get messy. 2- this Is going to take a good 3 hours of your time. break on the Modge Podge and smooth fabric onto the seat and the back of the chair.
You will want to be generous with the fabric around the keyhole of the back. Also, don’t try to fit fabric perfectly, it’s not a box, so cut strips by the keyhole to better smooth out the fabric. But also stay away from the edges and leave lots of flex space at the end. You will need it later. I would say about 4 inches of fabric off each edge.
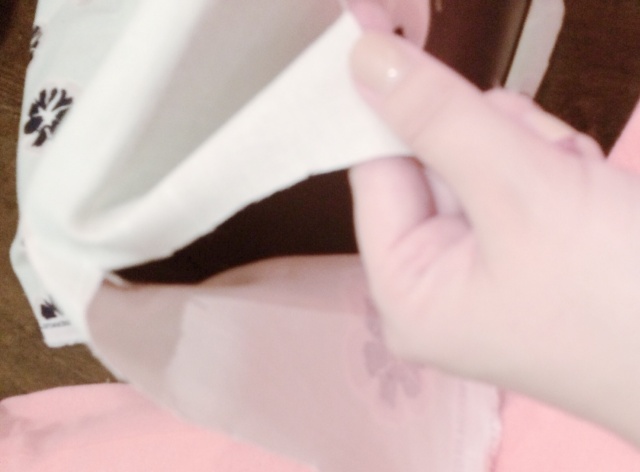
Once dried shape your edges and Modge Podge down, using the Xacto knife to outline the chair. Also, cut the corners like below and fold similar to gift wrapping for neat and clean corners.
Now it is time to add Polycrylic over the fabric and the back to seal the chair and make clean up a possibility if you have a husband like mine, you will be glad you did. Add a 2nd coat and be generous here!!!
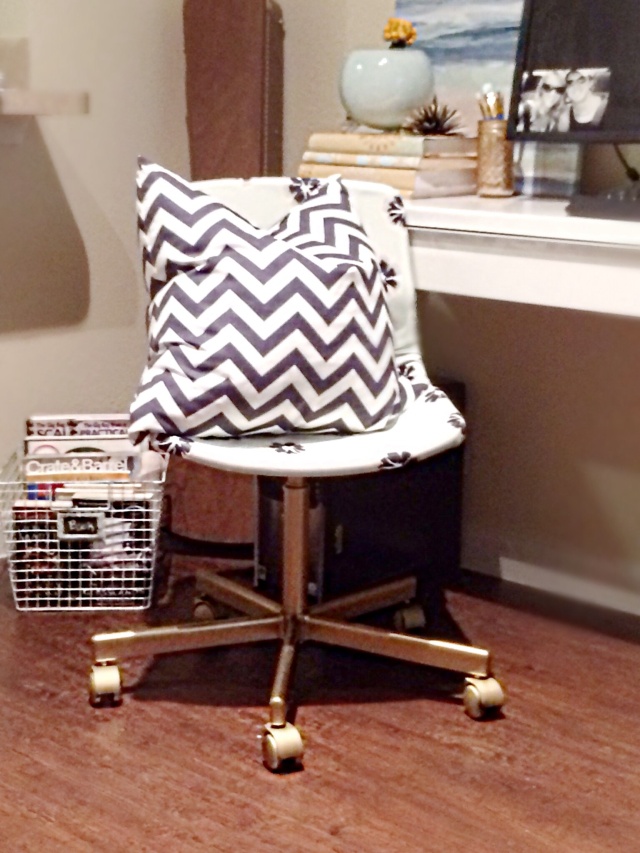
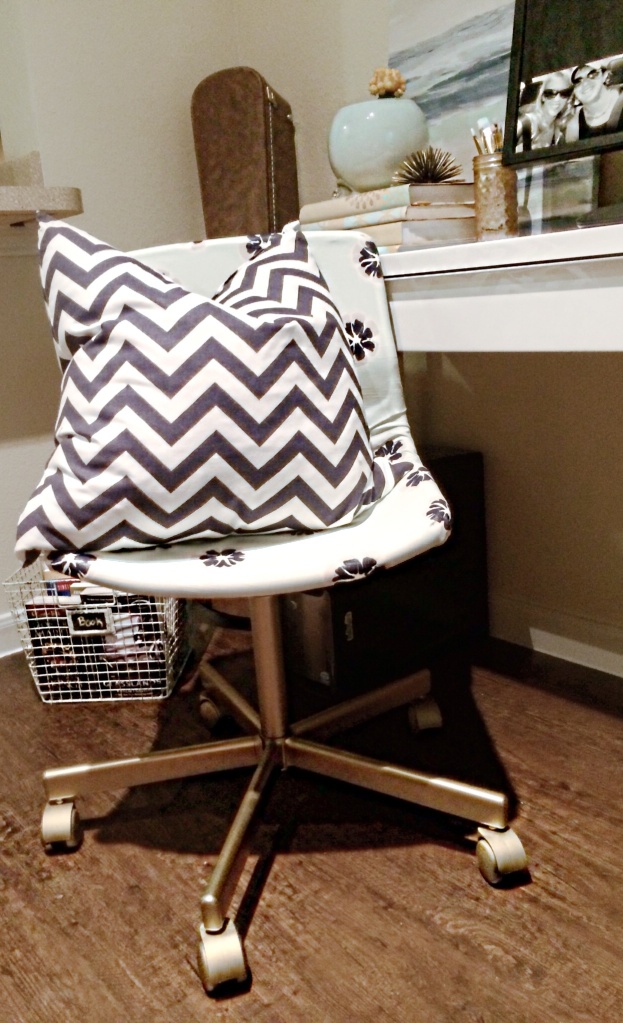
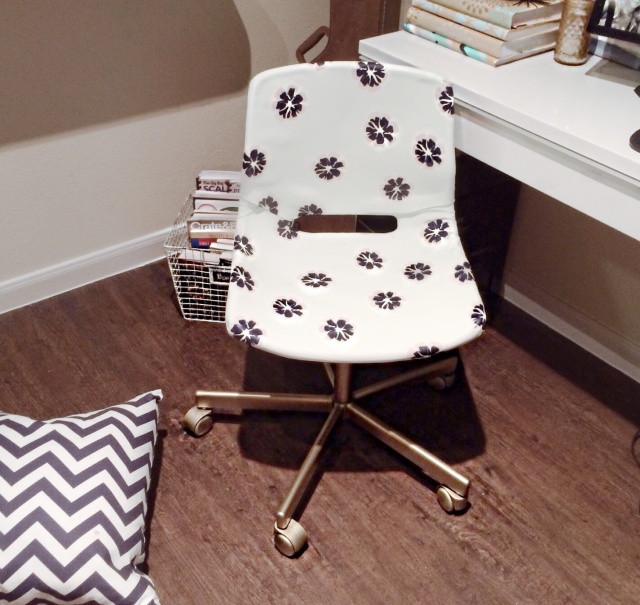
Construct chair and you are finished! So cute right? The fabric really makes or breaks this project so choose the right one… LOVE Nate Berkus!!!
More to come on office nook updates later in the week!
